Setting Up Data Change Alerts
This guide will help you step by step configure alerts that will notify you about important changes in the Busines Central system.
🚀 How to get started?
- In Business Central search for "Data Change Alert Rules"
- Open the "AQ | Data Change Alerts" page
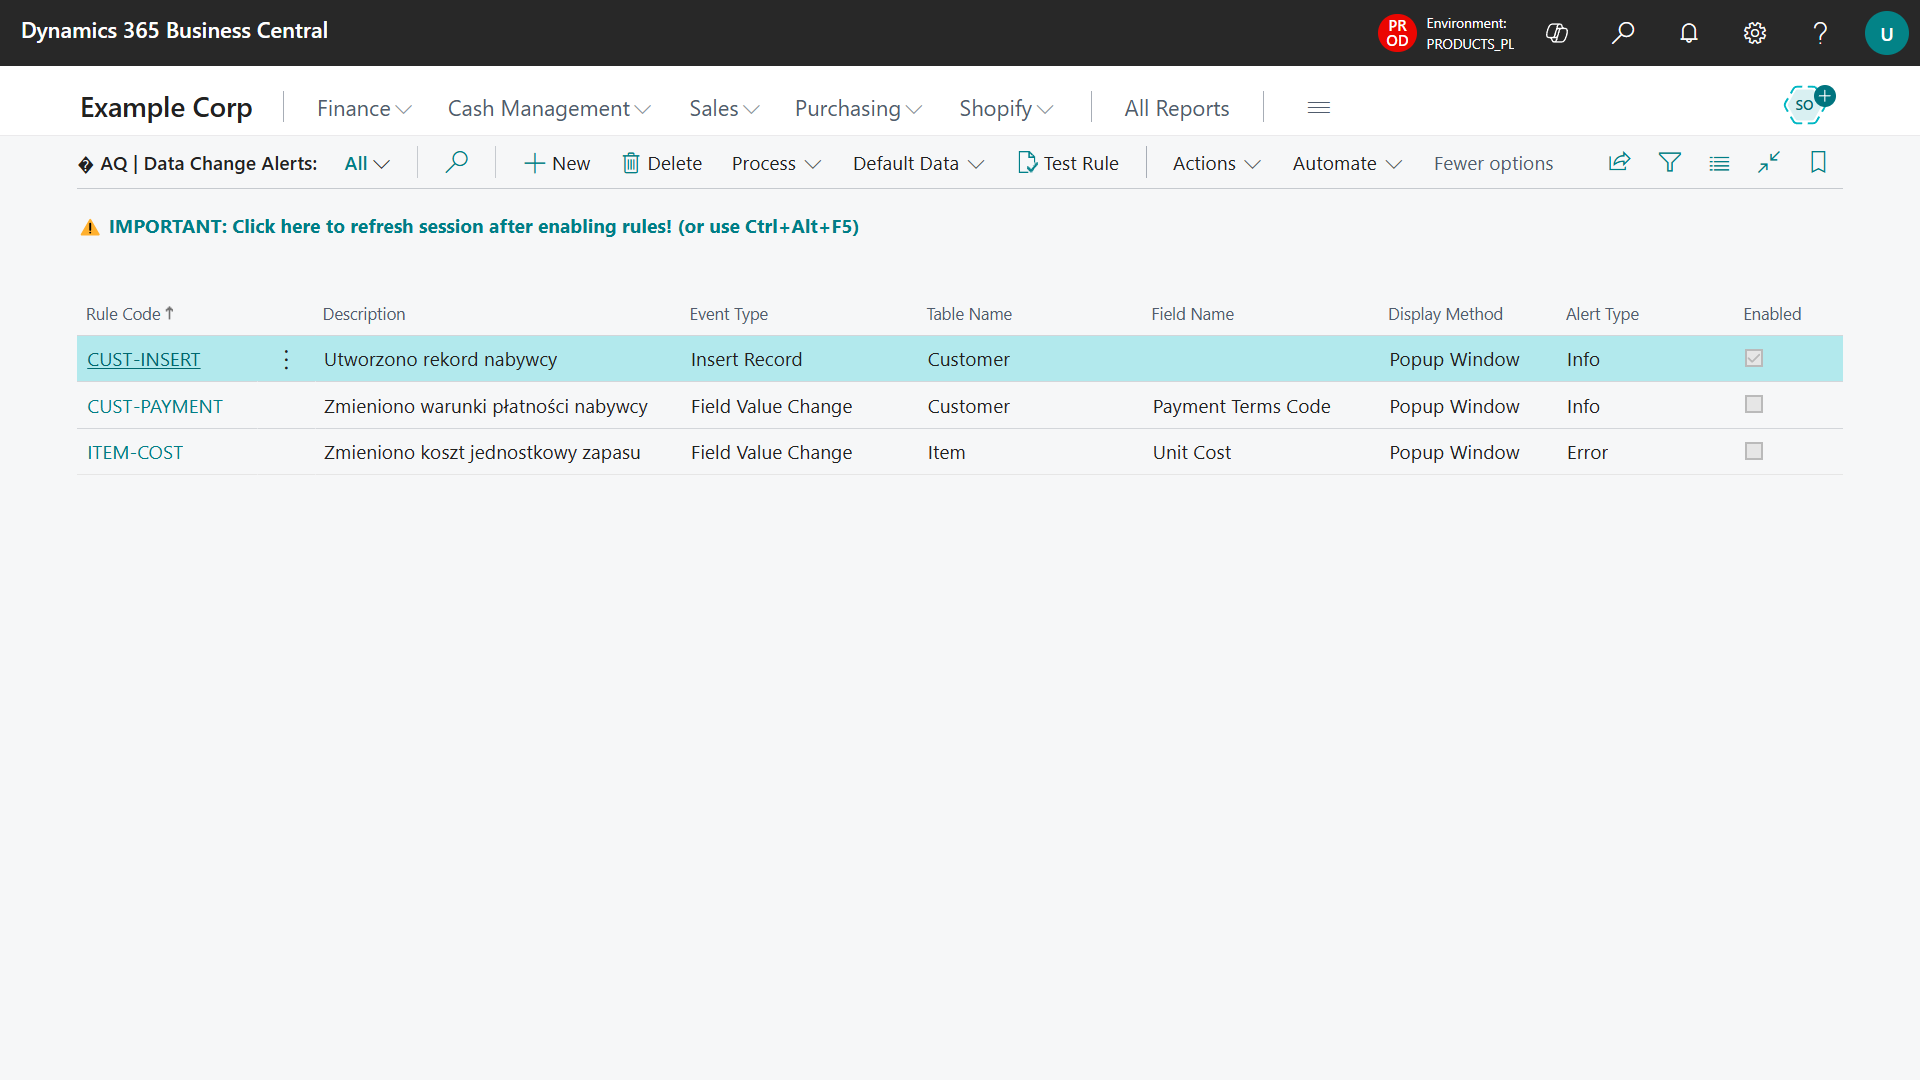
🛠️ Creating a new alert
Step 1: Basic information
- Click New to create a new rule
- Enter Rule Code - a short name (e.g., "NEW-CUSTOMER" or "PRICE-CHANGE")
- Add Description - write what this alert should do (e.g., "Notifies about new customers")
- Don't enable the rule immediately - first configure and test it
Step 2: Choose what you want to monitor
Option A: New data (Insert Record)
When to choose: You want to know when you add something new
How to configure:
- Event Type: Choose Insert Record
- Table No.: Choose table (e.g., Customer)
- Message Text: "New customer added: %1 - %2"
Option B: Data deletion (Delete Record)
When to choose: You want to prevent deletion of important data
How to configure:
- Event Type: Choose Delete Record
- Table No.: Choose table
- Alert Type: Error (will stop deletion) or Info (only notify)
- Message Text: "Cannot delete customer: %1 - %2"
Option C: Changes to specific information (Field Value Change)
When to choose: You want to track changes to specific data
How to configure:
- Event Type: Choose Field Value Change
- Table No.: Choose table (e.g., Item)
- Field No.: Choose specific field (e.g., Unit Price)
- Message Text: "Changed price %1: %OLDVALUE% → %NEWVALUE%"
Step 3: Choose notification type
Information notification (Info)
- Only informs, doesn't interrupt work
- Good for tracking changes
- User clicks "OK" and continues working
Error notification (Error)
- Stops the action and requires a decision
- Good for blocking unwanted actions
- User must do something to continue
✉️ Writing message text
Basic placeholders:
- %1, %2, %3 - Insert main record information (code, name, etc.)
- %FIELDNAME% - Name of the field that changed
- %OLDVALUE% - Old value
- %NEWVALUE% - New value
Examples of texts:
For new customers:
"🎉 New customer in system: %1 - %2"
For price changes:
"� Item price changed %1: was %OLDVALUE%, now %NEWVALUE%"
For errors:
"❌ STOP! You cannot delete %1 - %2. This may affect other data!"
🧪 How to test alerts?
Before enabling an alert live, always test it:
- Open your alert rule
- Click Test Rule
- See how the alert would look
- If something's wrong - fix and test again
- When satisfied - enable the alert
⚠️ IMPORTANT: Session refresh after enabling rules
After enabling or changing alert rules you MUST refresh the system session for the changes to be loaded:
- Use the Ctrl+Alt+F5 key combination (recommended)
- Or click the session refresh button on the rules page
Without refreshing the session, new rules may not work correctly!
⚠️ Troubleshooting
Alert not triggering:
- Verify the rule is enabled
- MOST IMPORTANT: Check if you refreshed the session after enabling the rule (Ctrl+Alt+F5)
- Check table and field numbers are correct
- Ensure proper permissions for the monitored table
- Test the rule using the Test Rule function