Setting Up Planned Data Change
This guide explains how to set up and use the Planned Data Change feature to schedule future data changes in Business Central.
Prerequisites
Before using the DPlanned Data Change, ensure:
- The N24 Advanced Queues extension is installed
- You have the appropriate permissions to create and manage delayed data change tasks
- Email setup is configured if you want to receive error notifications
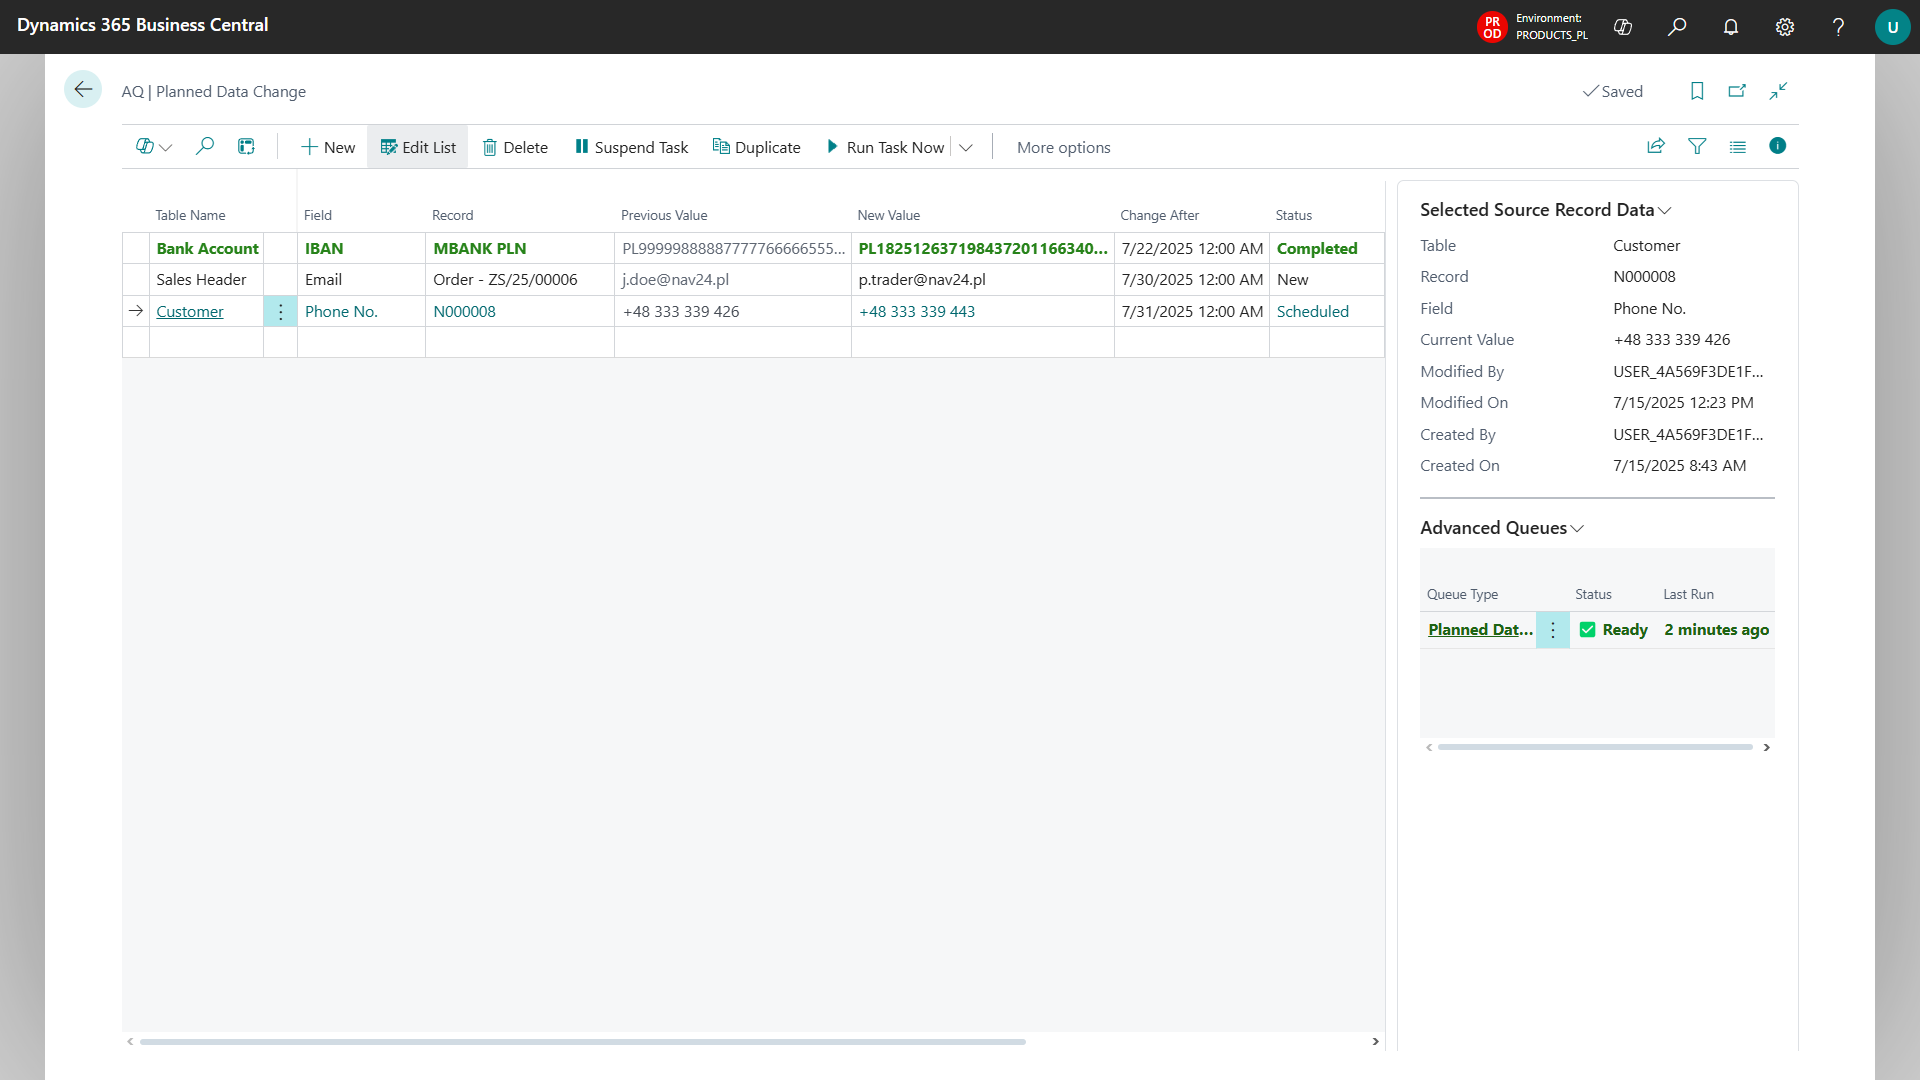
Creating and Managing Tasks
Accessing the Task List
- Search for AQ | Planned Data Change in the search box
- Or navigate through the action from ⚙️ AQ | Advanced Queues Setup
Creating a New Task
- On the Planned Data Change page, click New
- Select the table containing the record you want to modify
- Choose the specific field you want to change
- Select the record to be modified
- Enter the new value for the field
- Set the date in the Change After field
- Run Schedule action to schedule the task
Managing Existing Tasks
From the task list, you can:
- Suspend: Return a scheduled or errored task to "New" status for editing
- Duplicate: Create a copy of an existing task
- Delete: Remove tasks that are no longer needed
Setting Up Email Notifications
To receive error notifications:
Ensure an email account is assigned to the "N24 🔹 Queue Error Notification" scenario:
- Open Email Scenario Assignment page
- Find email account you want to send from the notifications
- Assign the "N24 🔹 Queue Error Notification" scenario
Users must have a valid email address in either:
- Authentication Email
- Contact Email
Queue Management
The Planned Data Change module relies on a job queue entry to process tasks:
- The queue status is displayed in a Advanced Queues factbox
- If the queue is not created/running, a notification appears at the top of the page
- Use the Create/Start Queue action from the factbox to create or start the queue
Task Status Color Coding
The task list uses color coding for easy status identification:
- New (default color)
- Scheduled (blue)
- Completed (green)
- Error (red)
Troubleshooting
If tasks are not being executed as expected:
- Check that the job queue entry is running
- Verify that the task date has passed
- Ensure the new value is compatible with the field type
- Check for any error messages on tasks with "Error" status
If error notifications are not being received:
- Verify email scenario configuration
- Check that your user record has a valid email address
- Look in your email spam/junk folders