Comment Templates
Functionality Overview
The feature allows for the predefinition of comment sets, which can then be selected from a list and assigned to comments in documents such as:
- Sales
- Purchasing
- Transfers
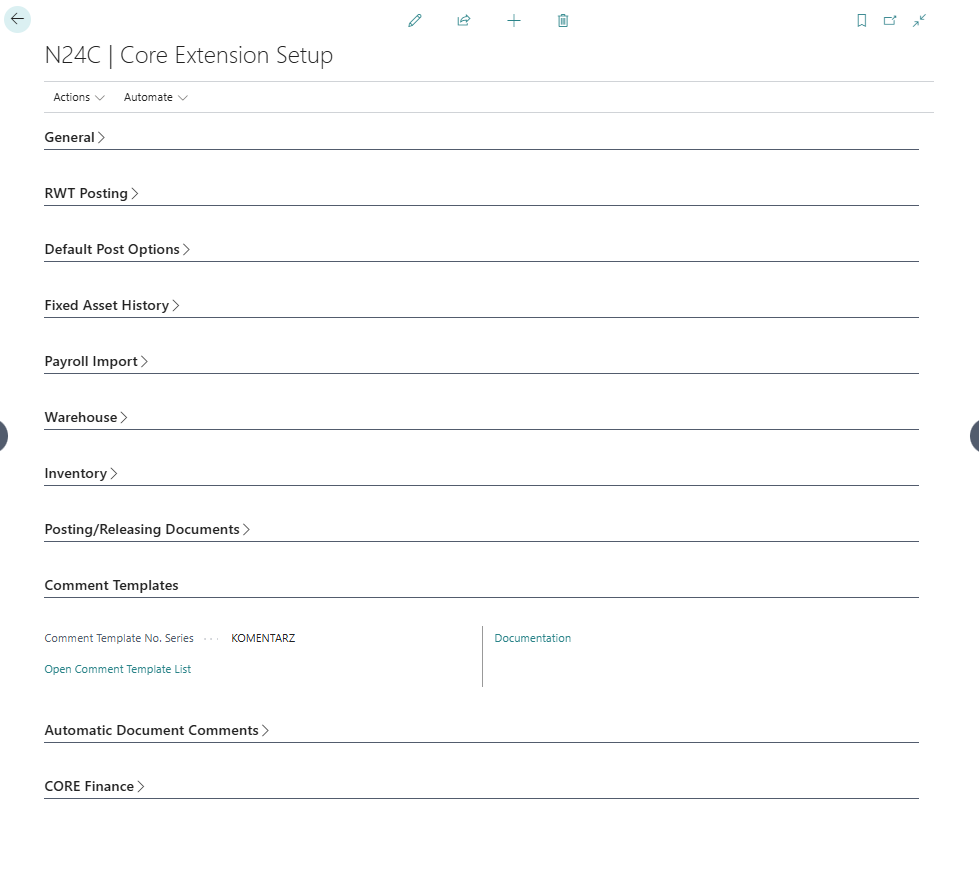
The list of available templates can be found using the Comment Templates search. To create new templates, a comment template number series must first be configured in the system settings.
Functionality Configuration
1. Defining the Number Series
If no number series is assigned for comments in the Core Extension Setup, it must be created:
Next, add a new number series dedicated to comments:
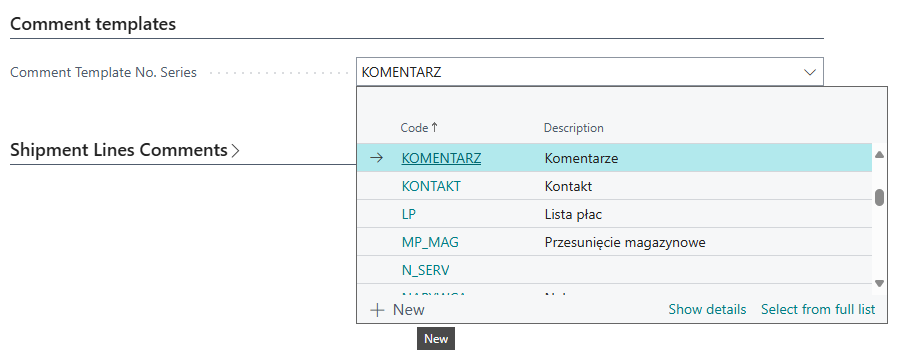
Once the number series is created, assign it to the Core Extension Setup to enable system usage.
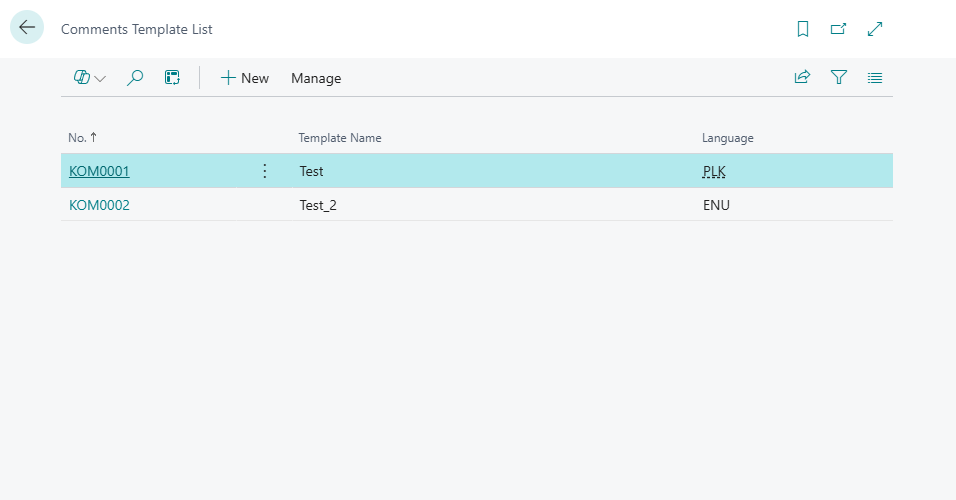
2. Creating Comment Templates
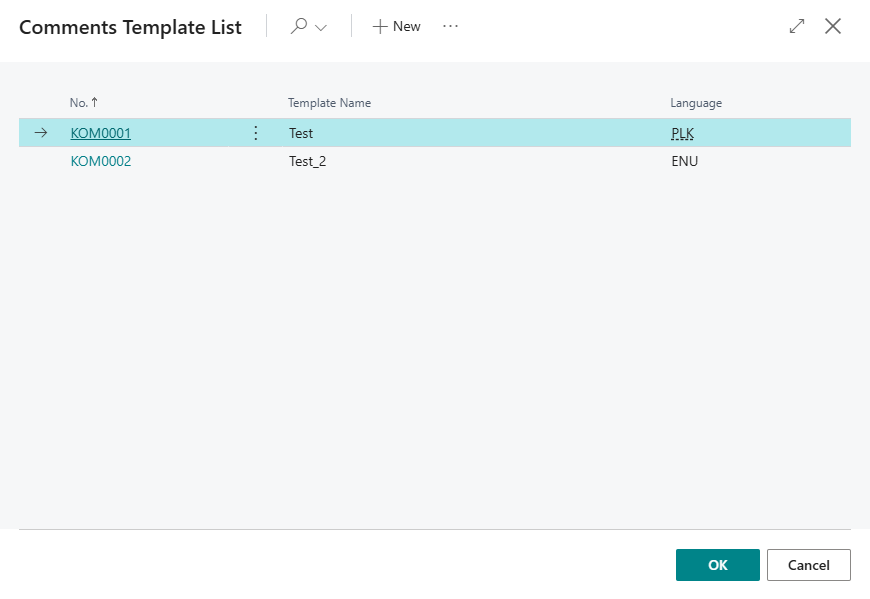
After configuring the number series, navigate to the Comments Template List page to create a new template:
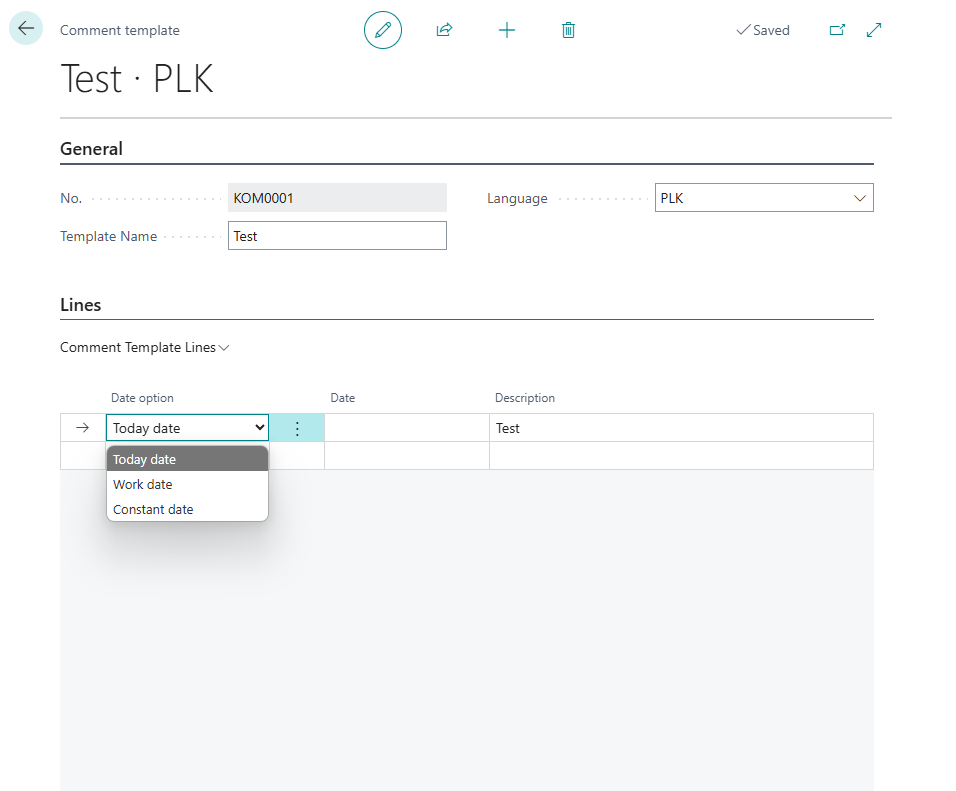
In the new template, fill in the following details:
- Template Name
- Language Code
- Comment Lines – The text of the comment that will be added to the document
Additionally, you can specify the comment date:
- Today date
- Work date
- Constant Date
and add a comment description.
3. Assigning Comments to a Document
This functionality utilizes the standard comment mechanism available in Business Central.
Once a template is created, comments can be added to a document, such as a Purchase Order. To do this:
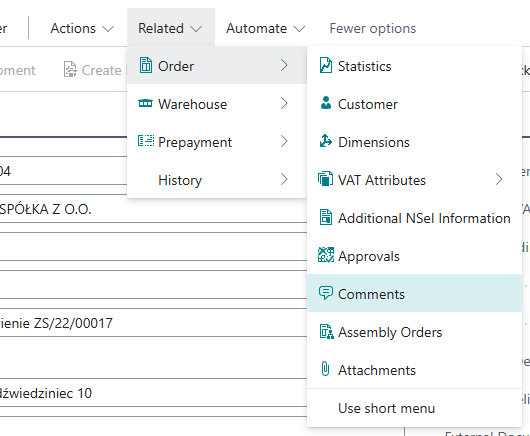
- Open the Purchase Order.
- Navigate to Related → Orders → Comments.
In the comments window, you can Pick from template.
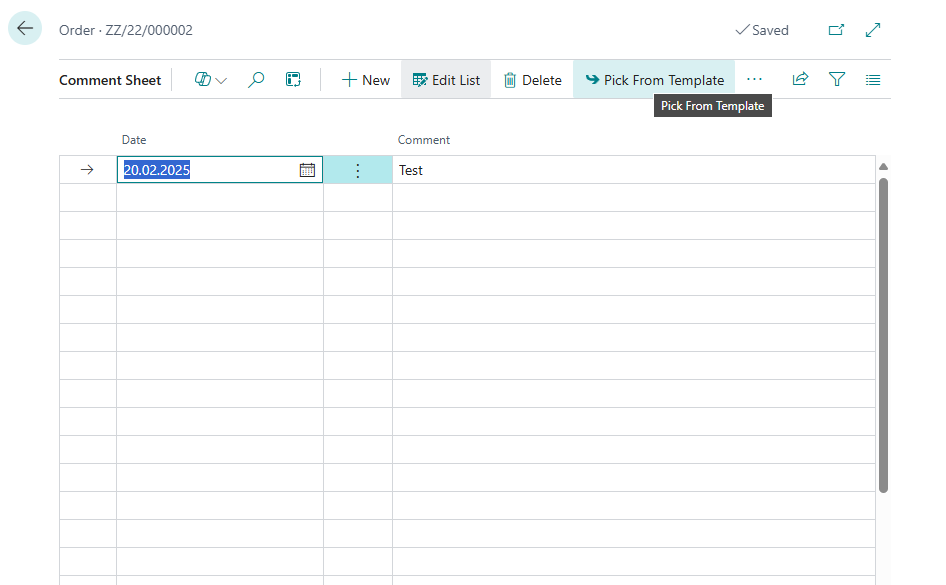
After importing, the comments will be added to the document and displayed in the printout.
Examples and Scenarios
Scenario: Standard packing instructions on export orders
Need: A company ships goods internationally and each export order requires a comment with packing instructions (pallet type, customs markings). Instead of typing the text manually every time, the logistics department wants a ready-made template.
Configuration:
- Open Comment Templates and create a new template.
- Fill in the Template Name: Packing instructions – export.
- In the comment lines enter:
- EURO pallet 120x80, stretch film, customs label on each package.
- Customs documents to be attached to package No. 1.
- Set Date to Today.
- Save the template.
Result: When creating an export sales order, the user navigates to Related → Comments, selects the Packing instructions – export template, and all the content is added automatically with the current date.
Tip
Create separate templates for different markets (EU, non-EU) — this way the instructions always match the customs requirements for the given destination.
Scenario: Multilingual comments on purchase documents
Need: A company orders goods from vendors in different countries. Comments on purchase orders must be in the vendor's language (e.g., delivery notes in English for UK vendors).
Configuration:
- Create a template Delivery instructions – UK with language code ENG.
- In the lines enter: Please deliver Mon–Fri, 7:00–15:00. Call warehouse before arrival.
- Create a second template Delivery instructions – PL with language code PLK.
- In the lines enter: Delivery Mon–Fri, 7:00–15:00. Please call the warehouse before arrival.
Result: The buyer selects the appropriate template depending on the vendor. The comment on the purchase order is in a language understood by the document recipient.
Scenario: Payment terms template on proforma invoices
Need: The sales department wants each proforma invoice to include payment terms and bank account information, without relying on the salesperson to remember.
Configuration:
- Create a template Payment terms – proforma.
- In the lines enter:
- Payment by bank transfer within 7 days from the issue date.
- Account No.: XX XXXX XXXX XXXX XXXX XXXX XXXX
- Please include the proforma number in the transfer title.
- Save the template.
Result: The salesperson imports the template with a single click when issuing a proforma — payment information appears on the document printout.