General settings
Printouts settings can be configured in two places:
Assisted Setup
This process will guide you step-by-step through all the required settings.

Core Report Setup
Core Report Setup contains all settings related to printouts, which are detailed below.
Tip
After configuring settings for one company, we can copy them to another. The action Set Current Settings For All Companies is used to do this.
General
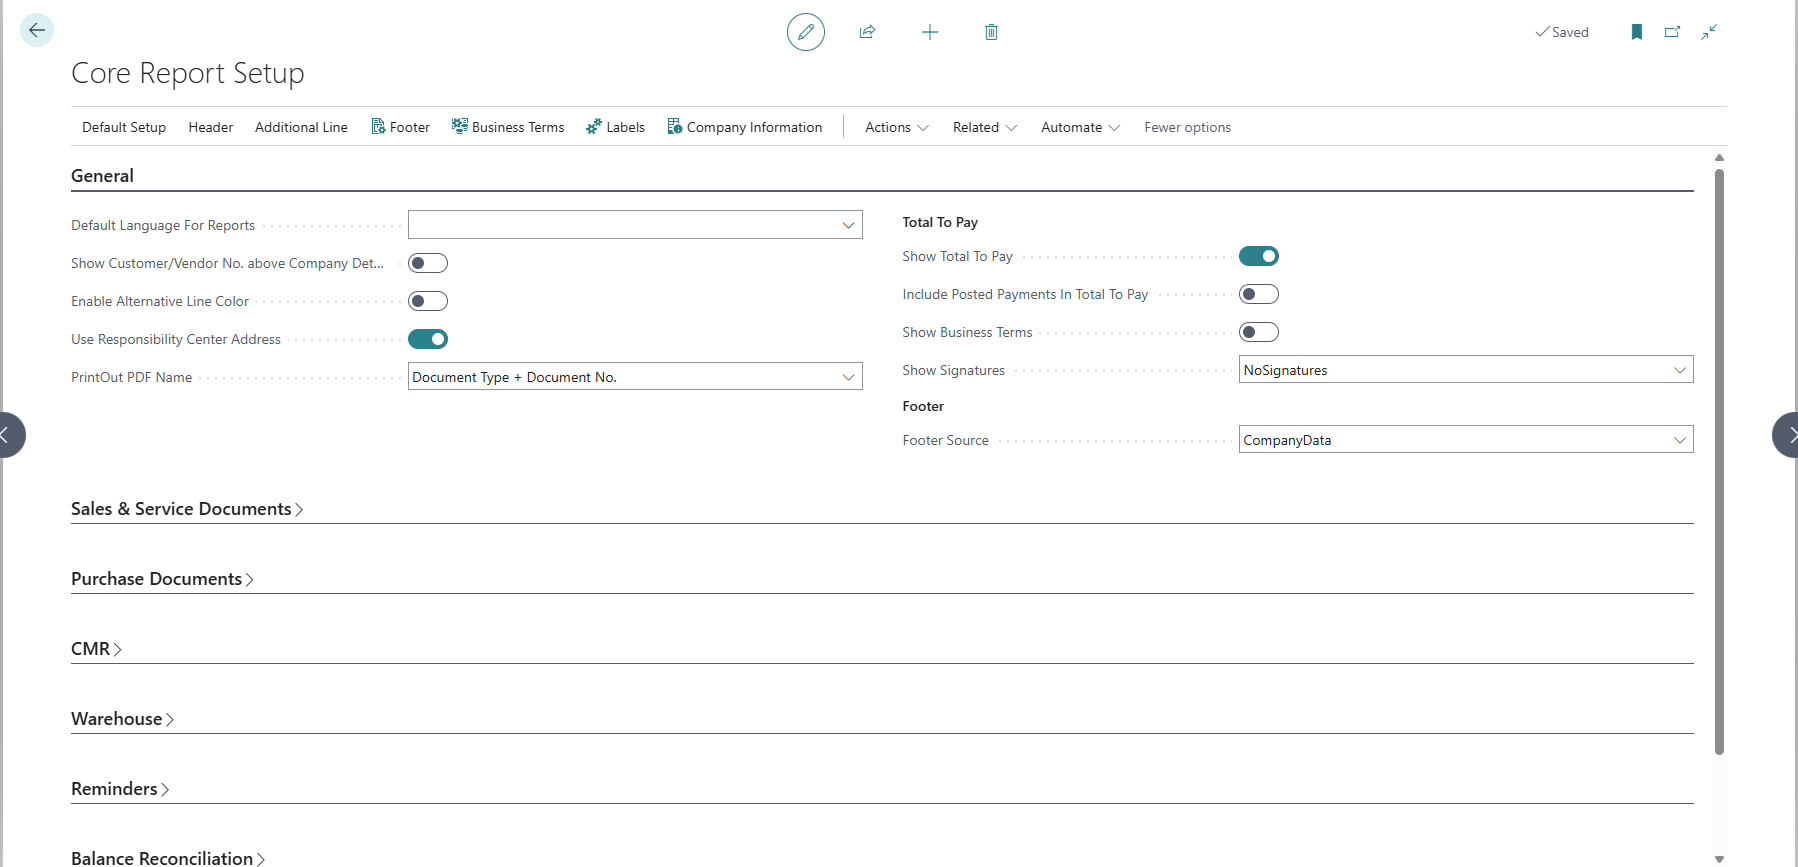
- Default Language For Reports - the selected language will suggest itself at the start of each report with the possibility of changing it
Warning
To take full advantage of the functionality for languages other than English, you will need to install the language packs provided free of charge by Microsoft on AppSource.
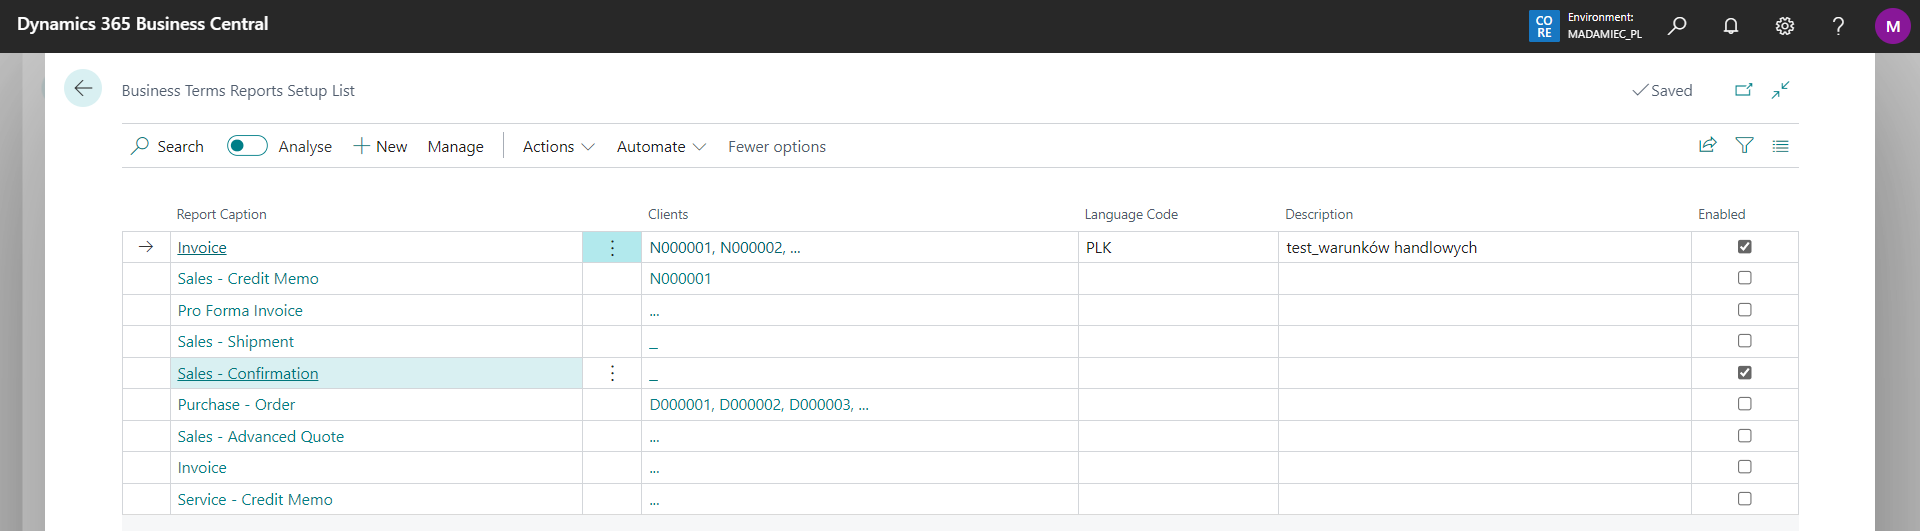
Show Business Terms - decides whether to show information about Business Terms on printouts according to settings. When checked by default in settings, you can still disable this option when running each printout.
Tip:You can use them not only for Business Terms but for any fixed content depending on the printout / language / customer. If you want to put a different text each time we recommend using the comments that can be set on each printout
Warning
In order for the Business Terms to be visible beyond the above setting, they must also be enabled on the page Business terms - settings
Show Total To Pay - summarizes the value to be paid under the lines of the document.
Tip:In addition to displaying Total to Pay, you can choose to reduce this value by the posted payments and display only the outstanding value here.Include Posted Payments In Total To Pay - allows you to include posted payments in Total To Pay field.
Show Customer/Vendor No. above Company Details - allows the Customer/Vendor No. to be displayed in the header of the section with their data on each printout.
Enable Alternative Line Color - allows you to alternately color the lines of sales, service and purchase printouts.
Use Responsibility Center Address – determines whether the address information from the responsibility center (if assigned to the document) should be used instead of the company address when printing documents.
PrintOut PDF Name - a field that determines how the file will be named when saving a printout as a PDF.
Example: Sales Invoice.pdfDocument No.- the file will be named according to the document number.Example: SI2408001.pdfDocument Type + No.- the file will be named according to the document type and number.Example: SalesInvoice_SI2408001.pdf
Sales & Service Documents

Show Bill-to Section
- Show Always
- Never
- Show if different
Tip:You can choose which section to display on the printout. The third means that if Sell-to and Bill-to data are the same, only one section is displayed.Show Ship-to Section
- Show Always
- Never
- Show if different
Tip:You can choose which section to display on the printout. The third means that if Sell-to and Ship-to data are the same, only one section is displayed.Sales VAT No. — allows you to set which VAT Registration No. should appear on the report:
- No Signatures
- Customer
- Payer
- Both
Show Bank Account No. - allows you to specify Bank Account No. visibility in Payment section. If you mark this option, the Bank Account No. assigned to the document will be displayed in the Payment Details section. If this field is empty, the Bank Account No. will be taken from "Company Information".
Show Bank Branch No. - allows you to specify Bank Branch No. visibility in Payment section. If you mark this option, the Company Bank Account Code assigned to the document will be displayed in the Payment Details section. If this field is empty, the Bank Branch No. will be taken from "Company Information".
Add Item Info. to Description — allows you to add additional information to the description in the line of printed sales documents:
- Item No. — the value of the No. field from the lines of the Item or Additional Cost type
- Description 2 — the value of the Description 2 field from the lines of the Item or Additional Cost type
- Item No. + Description 2 — both of the above options
- None
- Item Reference No.
- Item No. 2
- Item No. 2 + Description 2
- Item Reference No. + Item No. 2
Opcje wyświetlania metody dostawy — allows you to specify what should be displayed:
- Code
- Code and Description
- Description
Discount Rounding Precision — allows you to set the rounding of % discount values for clearer presentation of discounts on the report
Tip:This option has only a visual effect. For example, if the applied discount on the document has more decimal places than 2, the final value will be counted with the original discount, while the printout will show the discount according to the set rounding. In summary - this will not affect incorrect rounding of amounts on the sales/service document.Invert Discount Signs on Printouts — specifies whether to invert the sign of discount percentages and amounts on printouts. When enabled, positive discounts will display as negative values (e.g., 10% → -10%), and negative discounts (surcharges) will display as positive values (e.g., -5% → +5%). This is useful in industries that use negative discounts to add surcharges (e.g., copper surcharge in mining industry).
Show Signatures — decides whether to show the signature section in reports. When it is checked by default in settings, you can still disable this option when running each printout.
- No Signatures
- Both
- Issuer
- Receiver
Skip lines with 0 quantity on Invoices. - lines with 0 quantity will not be displayed on invoices
Auto-fill issuer name — checking this option automatically assigns the person issuing the document for each printout (the field is active only if the 'Both' or 'Issuer' option is selected for 'Show signatures')
Show Work Description — decides whether to show the Work Description field in printouts. When it is checked by default in settings, you can still disable this option when running each printout.
Tip: You can use them if you want to put additional text on printout. If you want to put the same text for group of documents with e.g. the same language/customer etc. we recommend using the Business Terms option.Show Comments — decides whether to show comments in printouts. When it is checked by default in settings, you can still disable this option when running each printout.
Tip: You can use them if you want to put additional text on printout. If you want to put the same text for group of documents with e.g. the same language/customer etc. we recommend using the Business Terms option.Show Contact Name — allows you to specify whether the Contact Name should appear in the customer data section
Show Customer Phone/E-Mail — allows you to specify whether the Contact Information such as Phone/E-Mail should appear in the customer data section
Show VAT Attributes — decides to show the VAT attributes section in printouts. When checked by default in the settings, you can still disable this option when running each printout.
Tip:If checked, VAT Attributes will be printed on Sales Invoice, Sales Credit Memo and Sales ProForma Invoice, but only if any attributes are assigned.Show VAT Clause — decides to show the VAT clause section in printouts, completed on VAT Clause page.
Show VAT Specification For (LCY) Currency - for documents in a foreign currency, the VAT specification in the local currency is always show or only when VAT exists.
Show VAT as - allows you to set how VAT information is displayed on sales and service documents in the form:
- VAT rate - VAT % value
- VAT ID - that is, the VAT identification code, set in VAT Posting Setup both in the document lines and in the VAT Specification section
Extra Attention - the field should be filled in if additional information below the lines/Business Terms is to be placed on each printout. E.g. a warning about a change in data
-
- Show Payment Method - allows you to specify payment method visibility in Payment section.
Show Additional Information Image — checking this option allows you to select the graphic element to appear below the line with the summary of document amounts and its position. Confirming this option causes additional field to appear:
Additional Information Image - where we import the selected graphic.
Advanced Sales Quote - allows you to enable additional options to personalize the sales quote, such as hiding amounts and adding item preview. They will appear on the print request page.
Enable Automatic Grouping
Tip:If you choose this option, REMEMBER to read additional information on the request page. It contains more information about the changes that will made to the printout.Group In Sets
Tip:This option is used to sell several products/items (i.e. lines in the document) under the form of one line on the printout. E.g.:In order:
- sink - 3pcs - 1797 PLN
- siphon - 3pcs - 105 PLN
- gasket - 3pcs - 51 PLN
In the printout:
- sink set - 3szt - 1953 PLN.
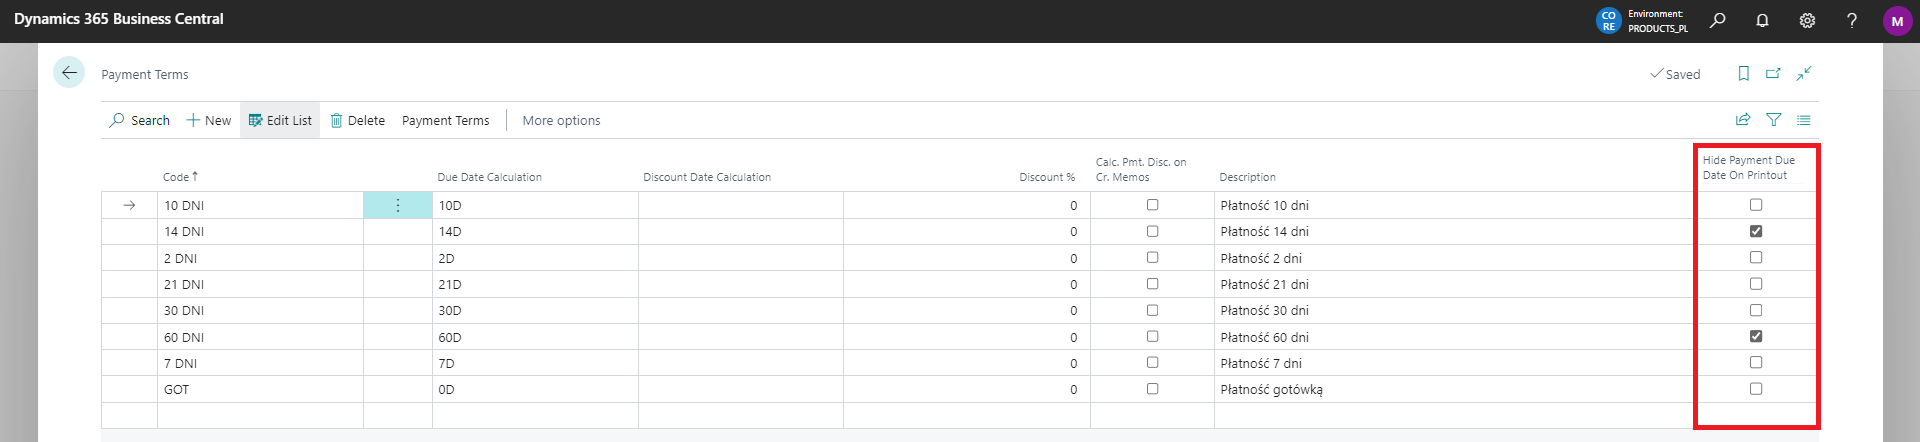
In addition to the above CORE Report Setup, the place where we can additionally configure the printouts of sales and service documents is the page with Payment Terms. A column Hide Payment Due Date on printout has been added there. Checking this option will cause that when printing sales or service documents with an assigned payment method, only information with payment terms without a specific date will appear on the printout.
Example usage: You may need to issue sales invoices without specifying a concrete payment due date, including only a description in the payment terms such as "7 days after protocol signing". While the system requires a due date to be entered when creating an invoice, enabling this option allows you to hide the specific date on the printout while keeping the payment terms description visible.
Purchase Documents

- Show Location Name - Enables showing or hiding the location name in the Purchase Order and Purchase Invoice report.
- Show Bank Account Data - Enables showing or hiding bank account data in the Purchase Order and Purchase Invoice report.
- Due Date on Purchase Order Line - Allows you to choose which date from the Purchase Order lines should be displayed. Available options:
- Promised Delivery Date
- Requested Delivery Date
- Planned Receipt Date
- Order date
- Expected Receipt Date
- Show Price Details on Purchase Order - Enables showing or hiding prices in the Purchase Order lines. This is the default option, which can be changed during each print.
CMR
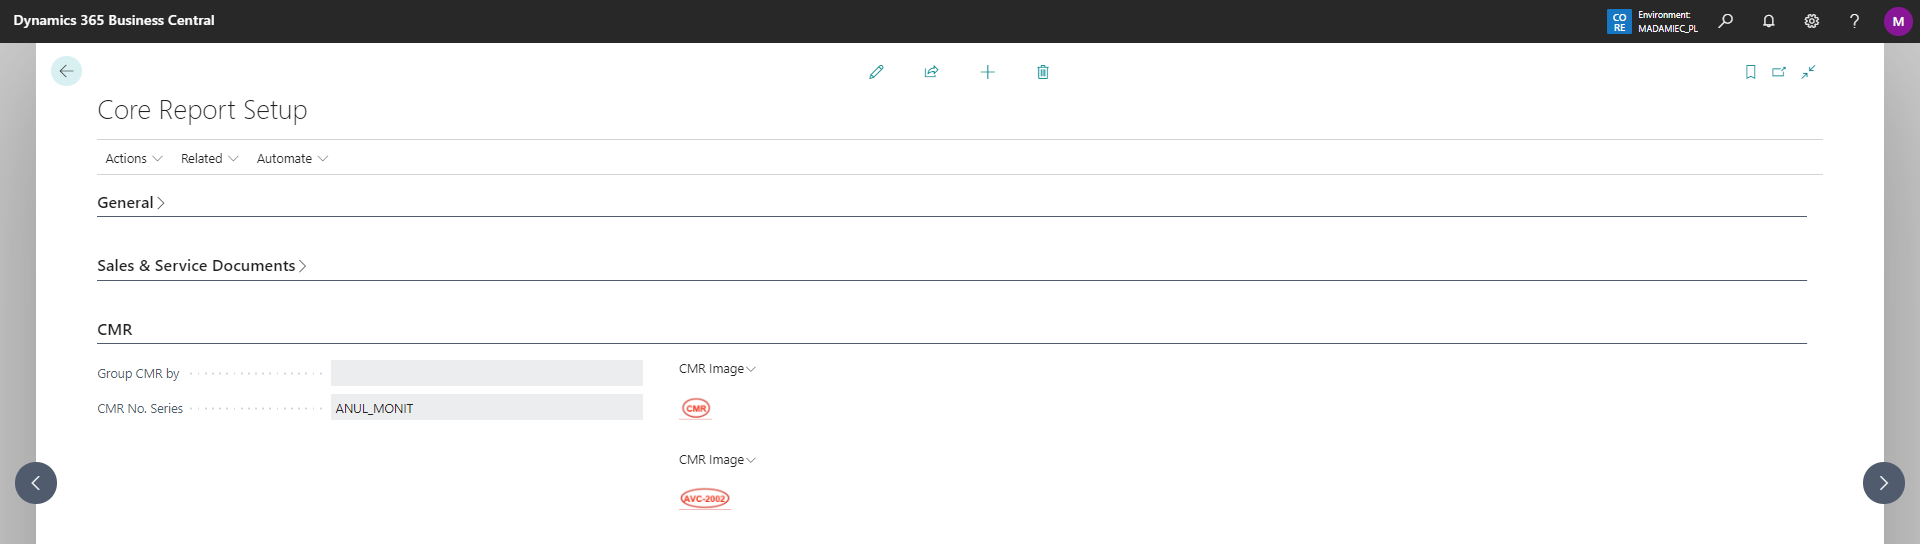
The first two fields allow you to define the two graphic elements that will be displayed on the printout
Group CMR by - allows you to define the element according to which the CMR lines are to be grouped on the printout
CMR No. Series.
Warehouse
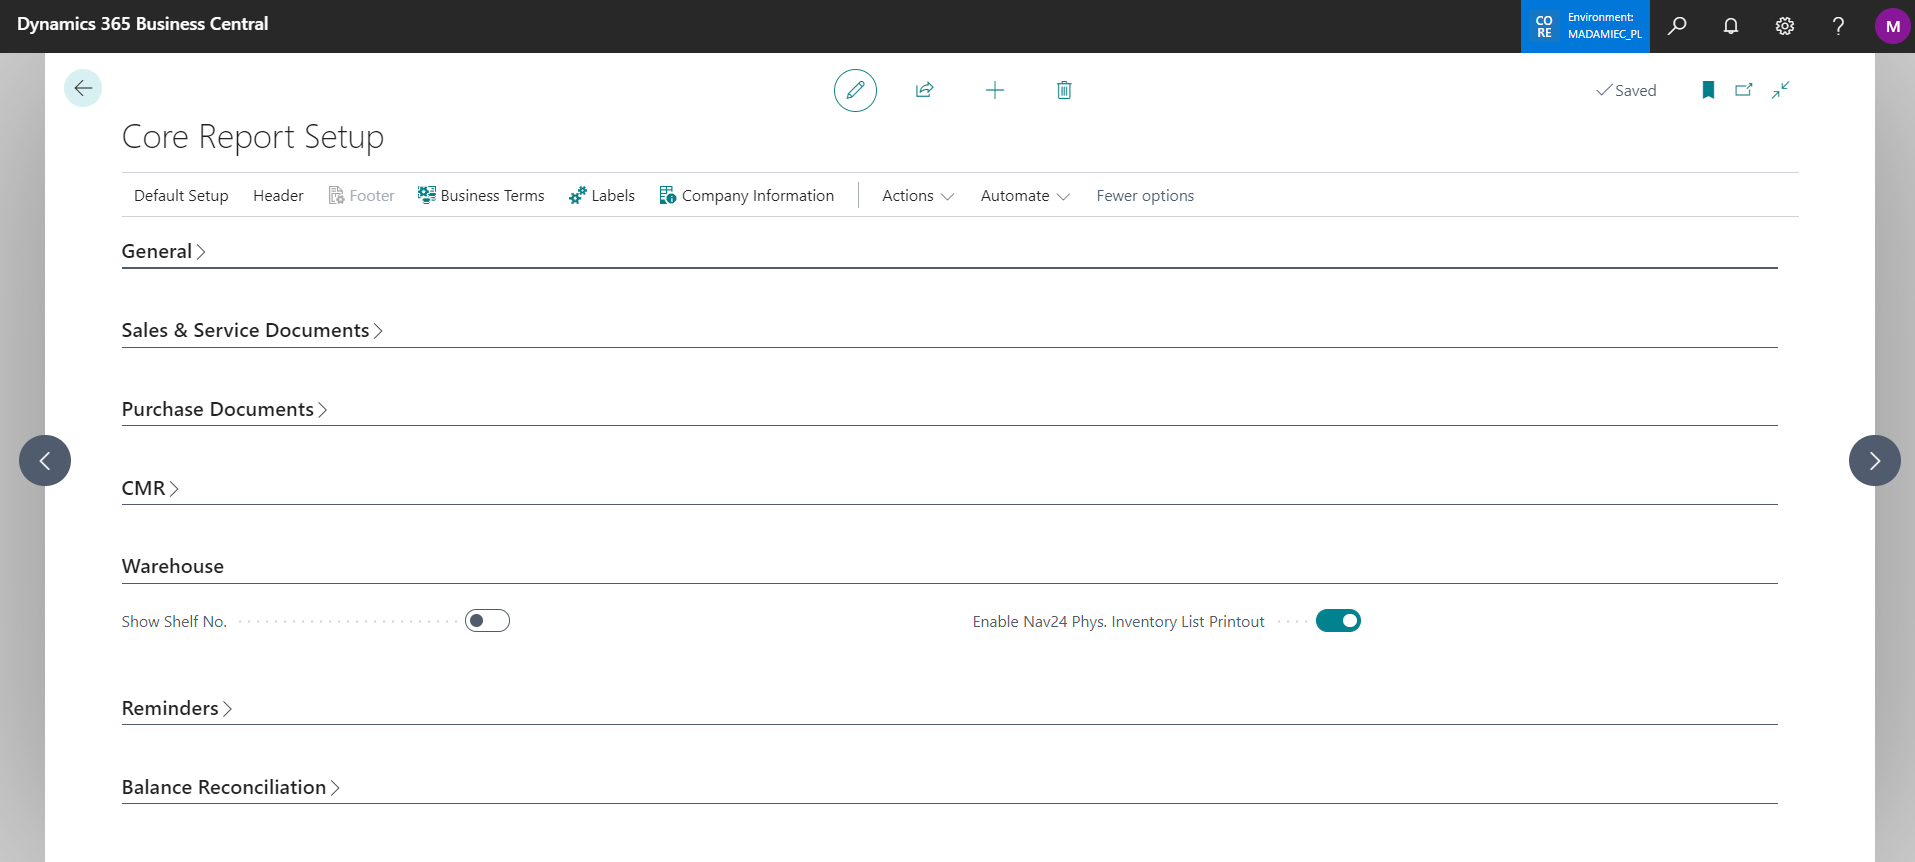
Enable Nav24 Phys. Inventory List Printout
Show Shelf No. - allows you to show the column with this value in the printout rows.
Reminders
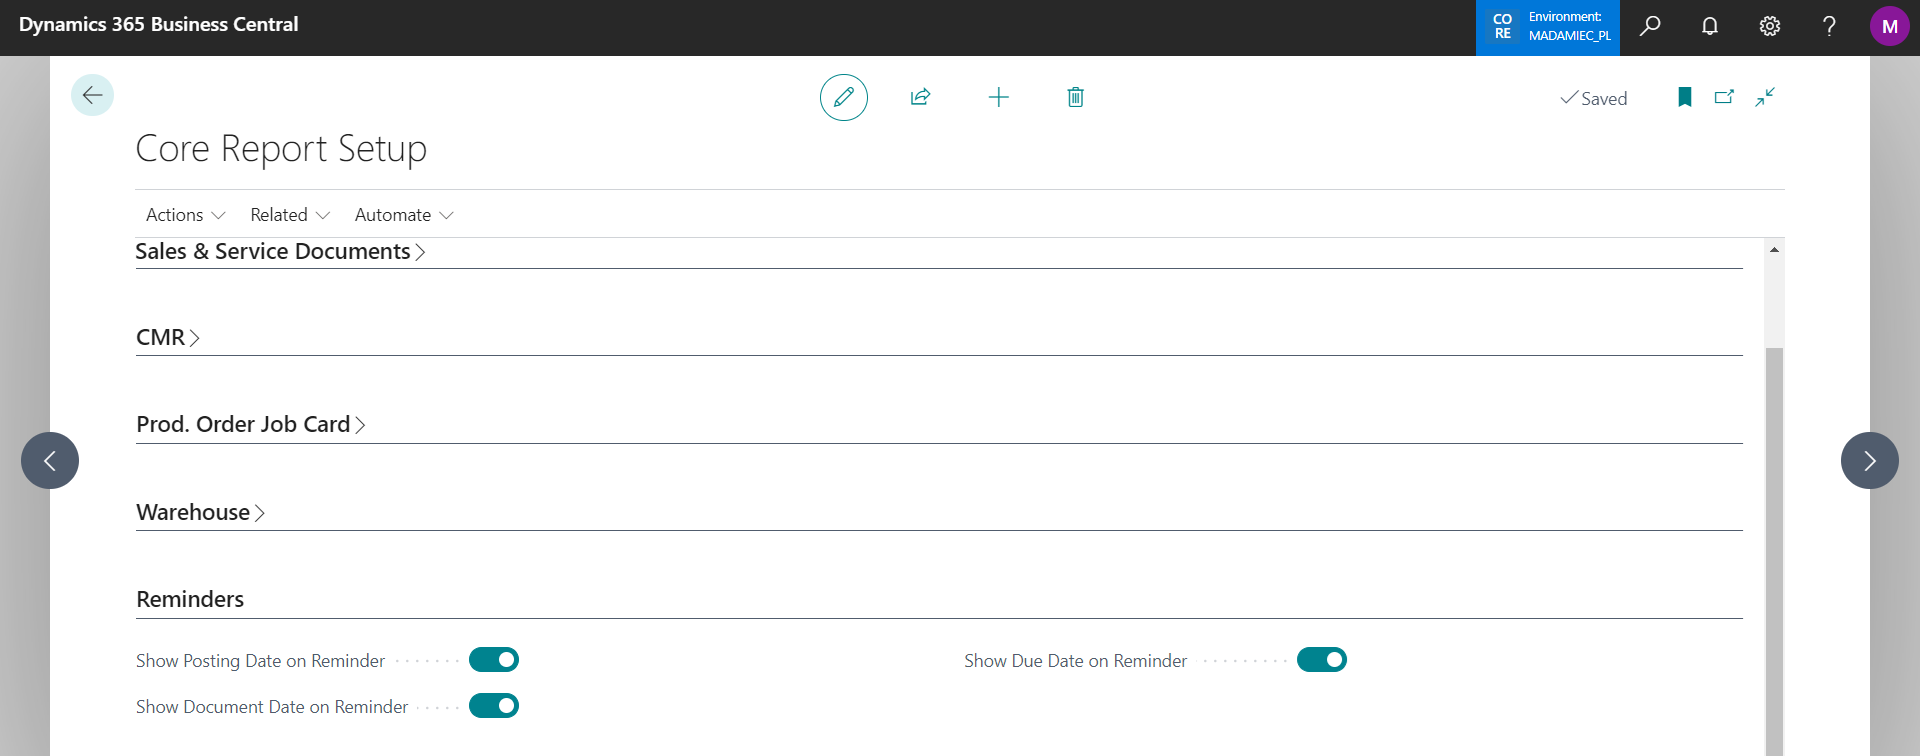
In the general setup, we can decide which dates to display in the reminder header:
Show Posting Date on Reminder
Show Document Date on Reminder
Show Due Date on Reminder.
Balance Reconciliation

In the general setup Core Reports Setup, we can choose which report we want to use.
[!include[SettingsSectionAccountingNotes](../SettingsSectionAccountingNotes.md)]