PrintNode Connector - Getting Started
This page will help you configure N24 PrintNode Connector in Microsoft Dynamics 365 Business Central. Follow the steps below to connect Business Central with your printers through PrintNode.
1. Create a PrintNode account
A PrintNode account is required. If you already have one, skip this step.
- Open the registration page and in the
Create an Accountsection enter your email address, first name, last name, and password (minimum 8 characters). - After registration, the main dashboard opens. You will also receive a welcome email with an activation link. Remember to confirm your email address.
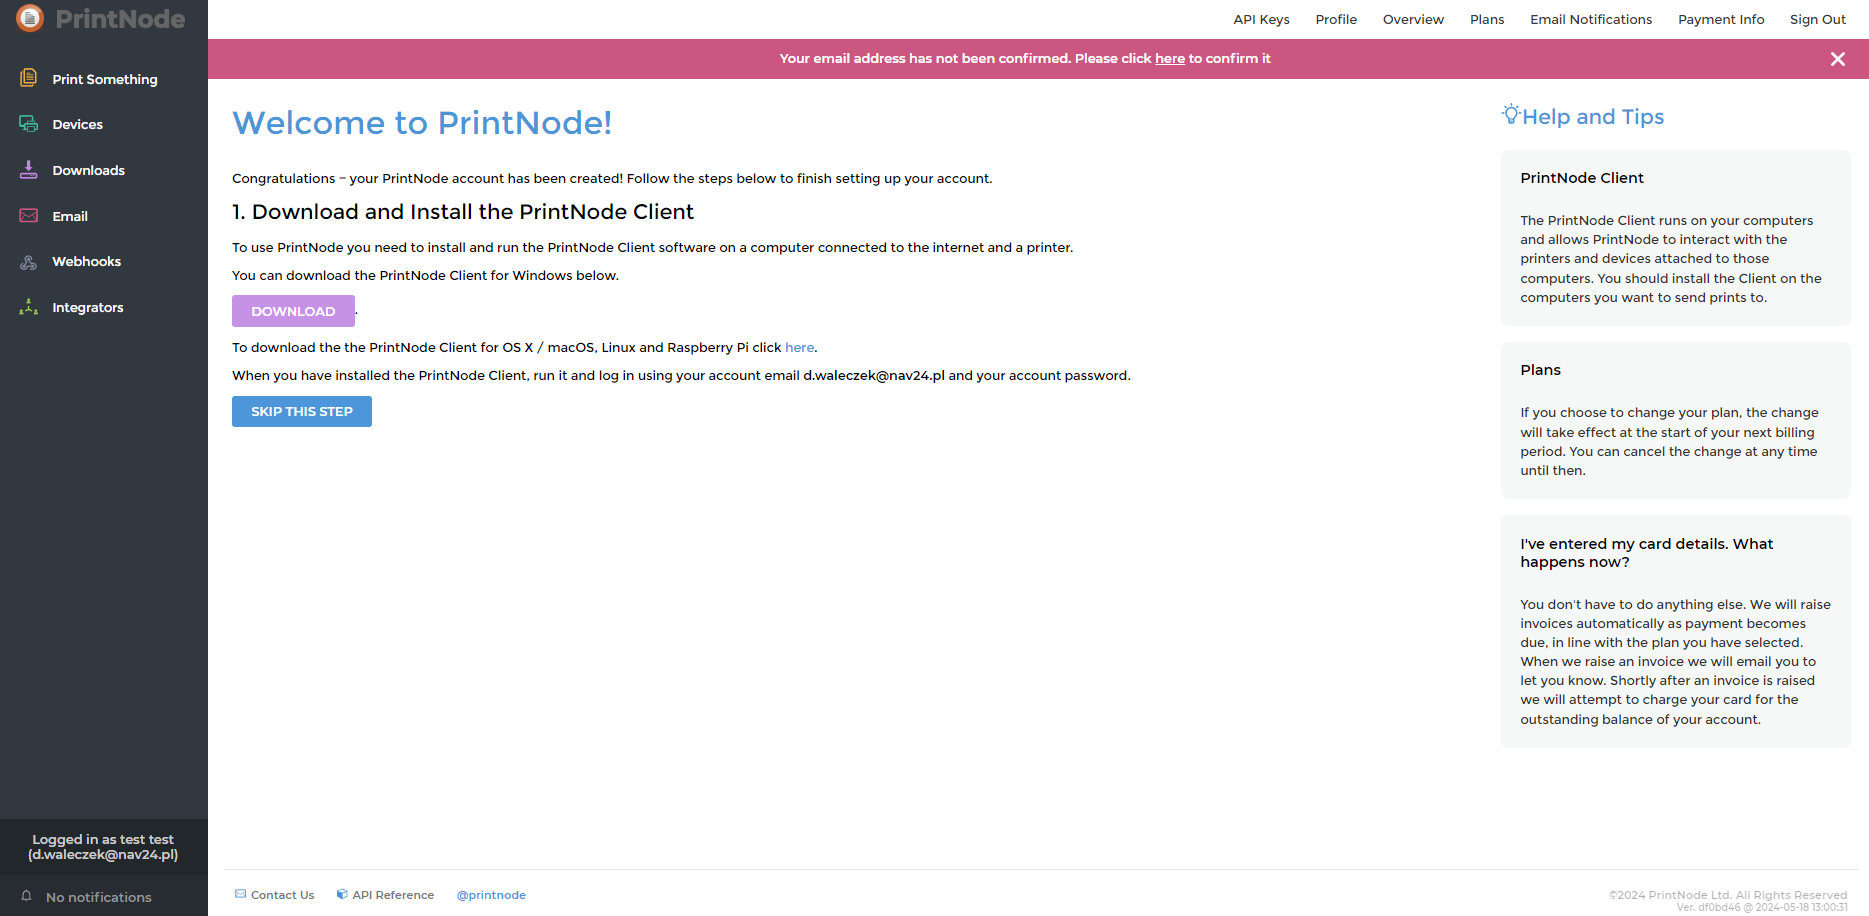
- You can adjust your plan on the plans page. By default, after the trial month, a paid plan starts (up to three connected computers and up to 5000 documents). You can switch back to the free plan if you need more testing time or if one computer and up to 50 monthly documents are enough.
2. Application installation
Download and install the PrintNode application on the computer from which printer availability should be detected. To print 24/7, this computer must stay online. Consider installation on a server. If you already installed the app, skip this step.
- Download the app for your operating system.
- Install the app according to your preferences. On Windows Server, installing as a Windows Service is recommended.
- Start the app and sign in. It runs in the background.
- To verify the connection, open Devices in the PrintNode panel. The list should contain the machine and its available printers.
3. Generate an API key
To connect to printers directly from Business Central, generate an API authorization key. We recommend creating a dedicated key for Business Central integration, even if you already have another key.
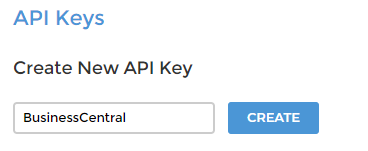
- Open the API Keys page. To manage keys, provide your current account password.
- Enter a key name and click
Create. Recommended name:BusinessCentral.
- The generated key appears in the
API Keycolumn. It will be needed in the next steps. You do not need to store it manually—it's available again after opening API Keys and entering your password.
4. PrintNode in Business Central
To connect Business Central with PrintNode and printers, provide the generated API key and configure settings:
- Open N24PNC - PrintNode Connector Setup in Business Central.
- In
PrintNode API Key, enter your API key. - Click
Test connectionand verify it works. - If successful, the status field shows Connected.
- Refresh the available printer list by clicking
Sync Printers. - Click
Open Printersto review detected devices.
Done!
After completing the setup, printers are ready to be used by other Nav24 extensions (e.g. N24 Labels), which can automatically submit print jobs through PrintNode Connector.