How to create custom label layouts?
To meet specific vendor and customer requirements, you may need custom label layouts that are automatically matched to the right entities. Microsoft Word is the recommended tool for creating templates.
1️⃣ Step by step
- Open label setup and from the action bar choose
Configuration, thenCustomize label layouts. - In the displayed list, find a layout with
Defaultselected, click the row, and chooseExport Layout. - Open the downloaded file in MS Word.
- Customize the layout as needed, including:
Adding dynamic content using the
XML Mapping Pane.Search for
XML Mapping Panein the Word search box.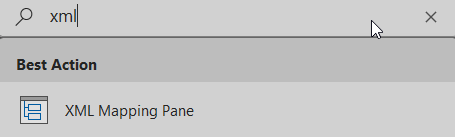
After opening, the
XML Mappingpane appears on the right. Selecturn:microsoft-dynamics-nav/reports/N24LBL_Label_Report/71610495/.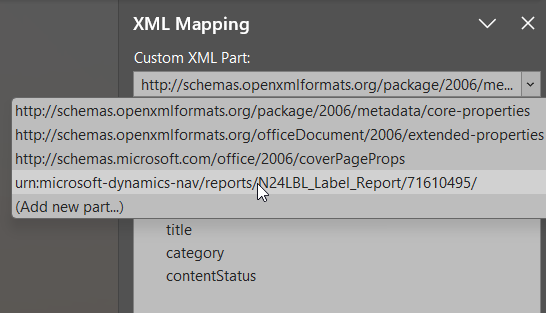
Expand
N24LBLLabelEntry, choose the field you need, then insert dynamic content at the desired place usingInsert Content Control→Plain Text.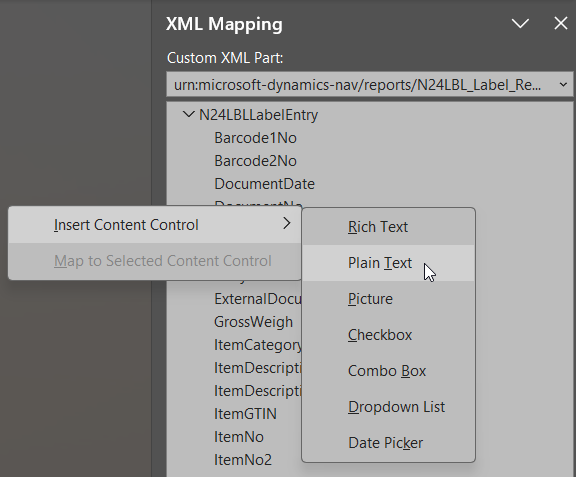
Inside
N24LBLLabelEntryyou will also find aCompanyInformationnode containing company address and contact data (name, address, post code, city, phone, e-mail, VAT registration no., registration no.). You can insert these fields onto the label in the same way as other fields.Dynamic content can be formatted the same way as regular text.
Adding barcodes
Select the dynamic field and assign one of the barcode fonts.
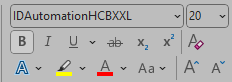
- Confirm the font-change prompt by clicking
Yes. In Word, you will not see a barcode preview, but after uploading to Business Central it prints correctly.
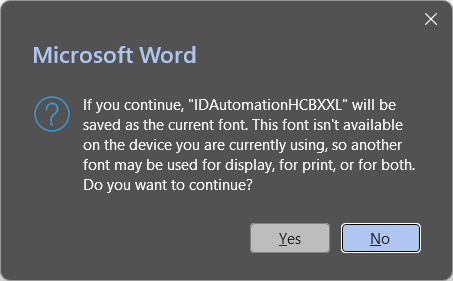
- Confirm the font-change prompt by clicking
2️⃣ Add a new label layout
- In label setup, choose
Configuration→Customize label layouts, then clickNewto add a layout. - Enter the layout name and select
WordinFormat Options, then clickOK.
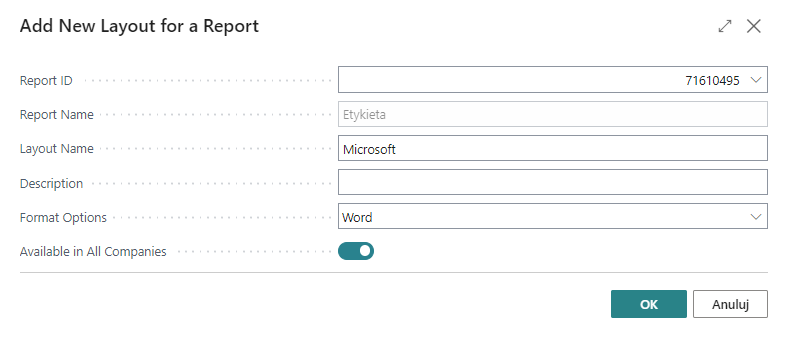
- Upload the Word file you created earlier.
- Back in label setup, click
Assign label layoutsin theConfigurationsection. - Select marking type, source (for example vendor or customer), and the corresponding label layout.
From now on, the layout is applied automatically when printing labels for that entity.